Brief Overview
Once logged into the Patient Portal, patients have the ability to upload files that will automatically show for the practice in the Review Scans window. This reduces the need for scanning of documents by admin staff when patients arrive for their appointments, and ensures that any documents that are required for a telehealth appointment are uploaded in advance of the appointment. Patients have the option to upload all relevant documents including referrals, consent forms, tests, and pictures to their file.
.
The Short Version
- The patient must be logged into the Patient Portal.
- The patient needs to go to the Upload & Shared Files tab, or the Upload option when booking an appointment.
- The patient selects Upload and choose a file to be uploaded (PNG, JPEG or PDF format).
- Uploaded files will show in Scanned Documents > Review Scans for the practice.
- Filter the document by patients.
- Confirm details and click Link.
Instructions
-
Patients will need to be logged in to the Patient Portal to upload files to the practice.
Tip: Provide your patients with instructions on how to upload documents via the Patient Portal and more through the Welcome to the Practice Message. -
The patient will have the ability to upload files from the Upload & Shared Files tab, or when booking an appointment.
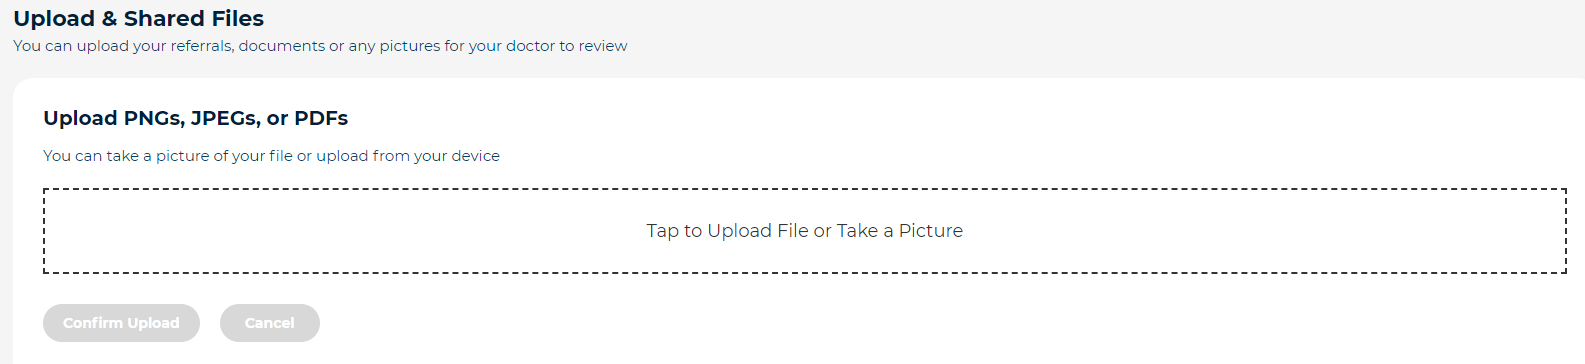
-
The patient will need to click Upload a File to browse and select the document and then select Upload. The patient will see all files that they have uploaded in the Files You've Uploaded section of the Upload & Shared Files tab.
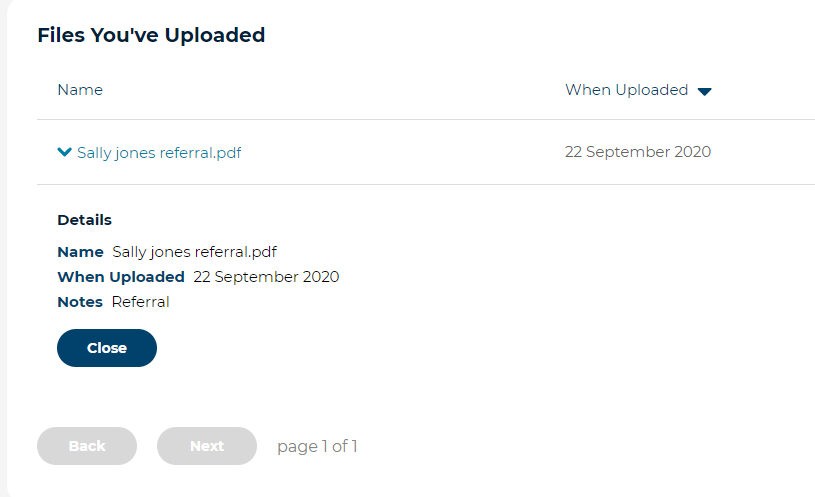
Note: Patients can only upload any PNG, JPEG or PDF file in their Patient Portal.
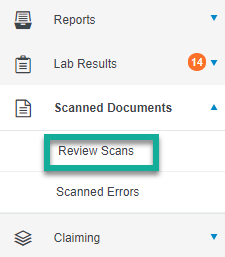
- Once the patient has uploaded a file successfully, this will appear within the practice in Scanned Documents > Review Scans. From here you will be able to attach these documents to the patient's file:
- Select Patients in the filter dropdown to only show documents uploaded by patients:
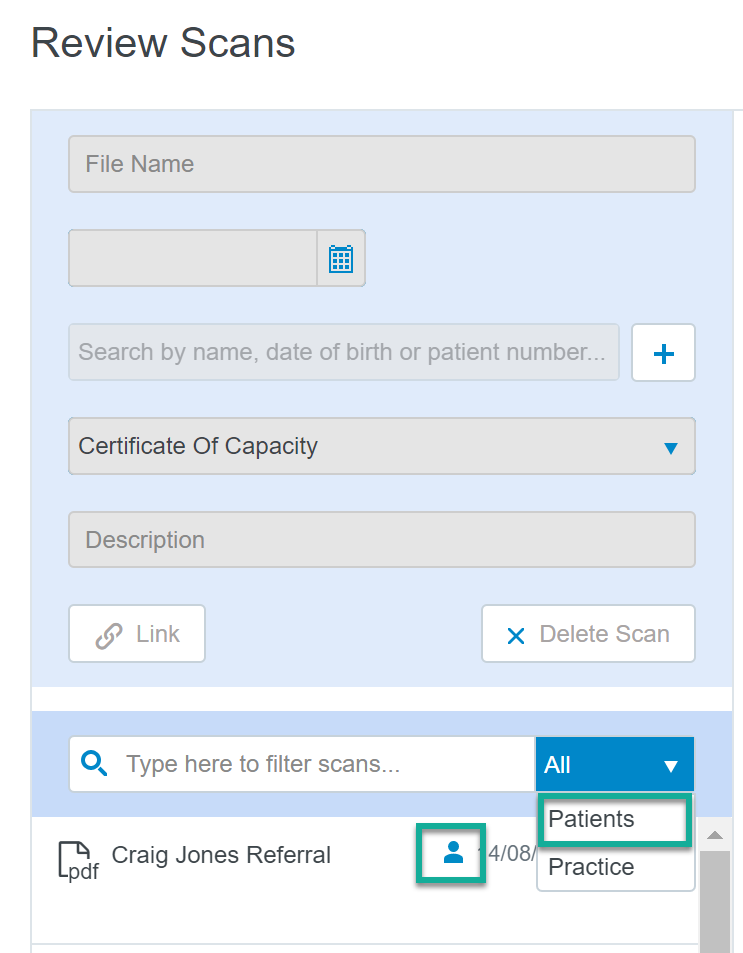
Note: The blue user iconnext to the date/time stamp advises this document was uploaded by the patient from the Patient Portal.
- Select the document which needs to be actioned. The Document Name, Date, Patient, and Type of document will be automatically filled in using the information provided by the patient. These details can be updated as required and a description can be added.
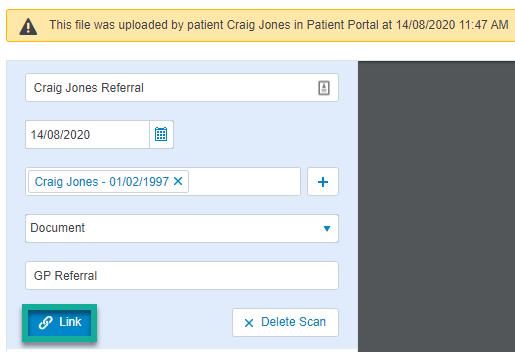
Note: There will be a message above the scanned document which provides details of when the document was uploaded by the patient.
- Once you are happy with the details select Link. This document will then show in the patient file.