The Contacts section is what you might refer to as your 'address book'. Create contacts in order send them letters, copy them in letters, or add them to Fee Estimates as interested parties.
You can create custom contacts, or you can find thousands of providers in our uniquely integrated Healthlink, Argus and Medical Objects database with a single search!
Short Version
- Click on the Plus + icon on the Contacts menu, or search and select an existing Contact.
- Search for the provider or fill in/edit their Personal Details.
- Select a Preferred Method of Communication (if required).
- Add/edit their Work Location information.
- Click Save.
Instructions
Adding a Contact
1. Click on the Plus icon beside Contacts on the side-bar. 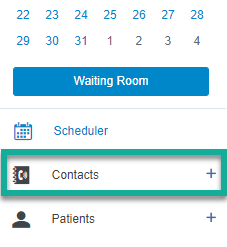
2. Ensure the Personal Details toggle is set to Individual.
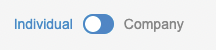
Note: If you would like to create a Company record, please view this article instead.
3. Search for a provider or enter the Contact's details.
Searching for a Provider via Secure Messaging Directories
You can use the search field to search for a provider in the Medical Objects, Argus, or Healthlink directories individually, or all at once. This allows you to import their personal, work address, and secure messaging information from the Secure Messaging provider's database.
1. Select a Secure Messaging provider from the Select Provider drop-down or select All to search the combined databases of all providers.
2. Type the provider's first or last name into the Search field.
3. If a match is found, select the provider from the drop-down list.
4. Their personal details, Work Location, and secure messaging information will then be automatically populated from the selected database/s into the Work Location panel.
5. Fill in any empty fields with information for the provider.
6. Ensure that the provider's correct Preferred Method of Communication is selected from the drop-down menu.
A) If you have a subscription to Medical Objects, Argus, or Healthlink, and have chosen to import the provider's secure messaging details from their database, then the Preferred Method of Communication will automatically be set to that provider. The format for sending will also automatically be set to those compatible with the receiving platform (PDF, Plain Text, or RTF).
B) If you do not have a subscription to Medical Objects, Argus, or Healthlink, but you have used their database to import the provider's secure messaging details, then their Preferred Method of Communication will automatically be set to Post - Letter. This is to avoid errors at the time of sending the letter.
7. You may wish to link your Contact to an existing Company record by selecting them from the Practice/Company Name drop-down menu.
i) If you would like to add a new Company record, you can freely type the name into the Company Name field, and this will create a Company record for you. Further information on adding Companies can be found within this guide.

8. Click Save.
Adding a Contact Manually
1. Click on the Plus icon beside Contacts on the side-bar.
2. Fill in the fields provided for your Contact. The following fields are mandatory fields that must be filled before you will be able to save the record:
- Title
- First Name
- Last Name
3. You may wish to link your Contact to an existing Company record by selecting them from the Practice/Company Name drop-down menu.
i) If you would like to add a new Company record, you can freely type the name into the Company Name field, and this will create a Company record for you. Further information on adding Companies can be found within this guide.
4. When complete, click Save.
Editing a Contact
1. Click on the Contacts option in the side-bar
2. Search for the Contact by surname in the field provided.
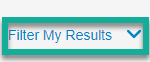
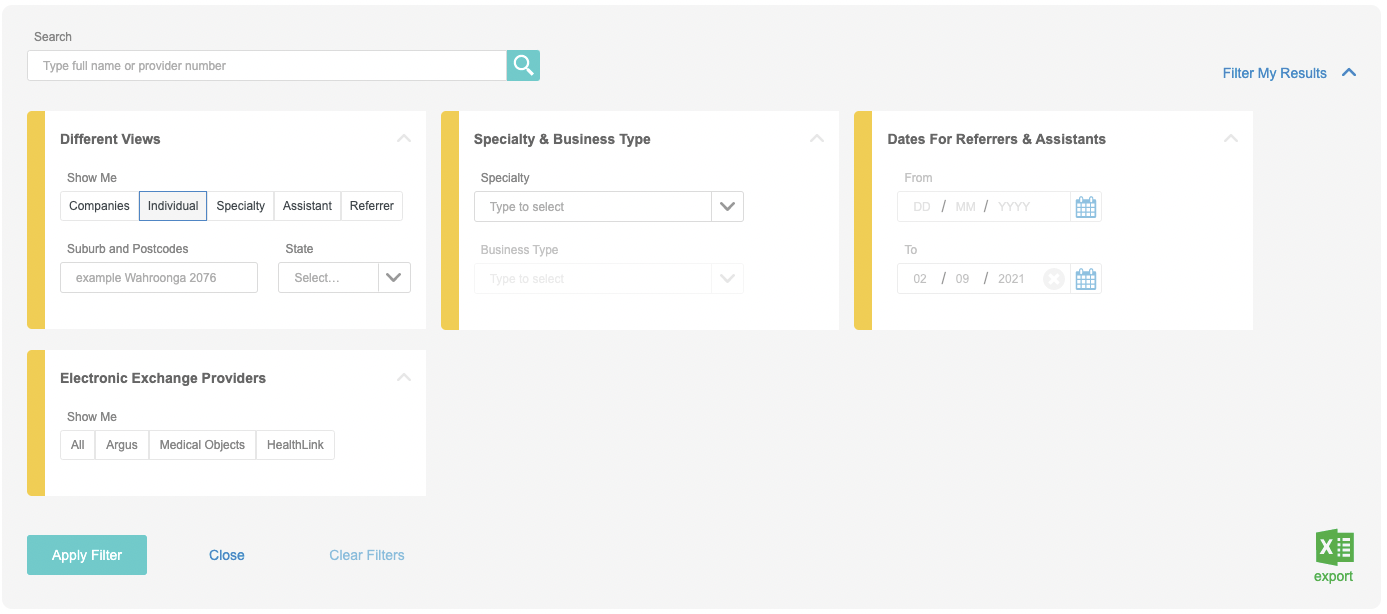
A. If you couldn't find what you were looking for, try searching through detailed filters.
Expand the Filter My Results area.
B. Expand the Different Views sections.
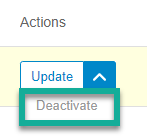
3. Hover over the Contact to select Update from the Actions column.

4. Make any necessary adjustments to their record and save.
OR
Once you have located the contact, you can either search and ADD a new work location from the integrated secure messaging database, or update the entire Contact. Use the provided radio buttons for either action.

5. Click Save to finalise your changes.
Deactivating a Contact
You can deactivate a Contact to prevent them from showing up in searches, and to hide them from view in the Contacts List. This can be helpful if a Contact is no longer connected to the practice.
1. Open Contacts on the left-hand side.
2. Hover over the Contact you'd like to remove, and select the Deactivate option from the Actions menu.
If the Contact you wish to Deactivate is linked to multiple locations, you will need to select which locations you would like to deactivate by ticking the box beside the location you no longer need, before clicking Confirm.

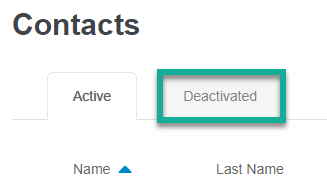
3. The Contact will then be moved into the Deactivated tab of the Contacts List.