Brief Overview
Lab results imported into Clinic to Cloud may be automatically assigned to a provider, or are assigned to a provider by an administrator. After being assigned to a provider, the results can be found in the My Results section of the Lab Results tab, filed under either Pathology or Imaging.
Short Version
- Open Lab Results > My Lab Results > Pathology/Imaging.
- Select a result.
- Click Link, search for and select the patient, and click Link.
- Create an eTask, Quick Consult, send an SMS, or Print the result as required.
- Click Accept to add to the patient file, or Accept & Publish to share the result via the Patient Portal.
Instructions
Lab results that have been assigned to a provider are available under their respective My Results filter in the Lab Results tab.
1. Click on the Lab Results tab and then select either Pathology or Imaging under the My Results heading.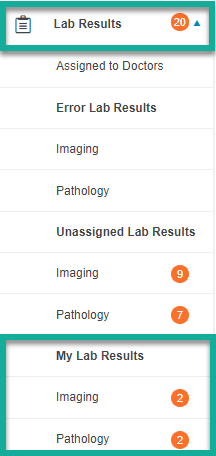
2. Highlight a result on the left-hand side to preview the contents on the right-hand side. 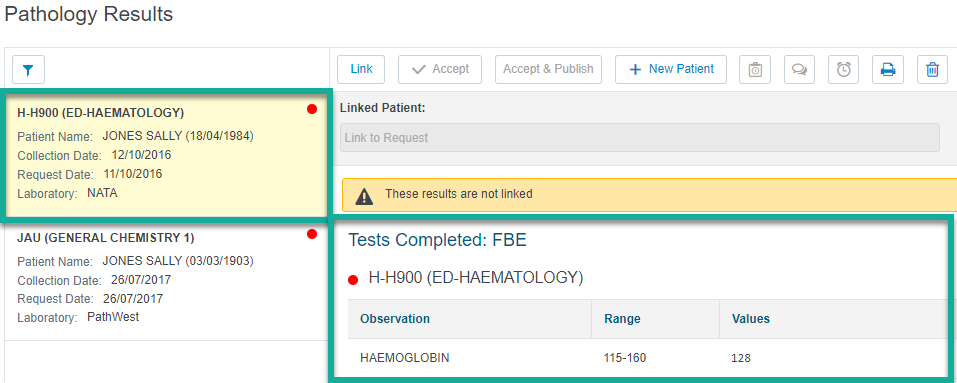
Note: If you are unable to locate a specific result that you expected to find, then you may use the filter functionality to search for a result.
A) Click the Filter icon. 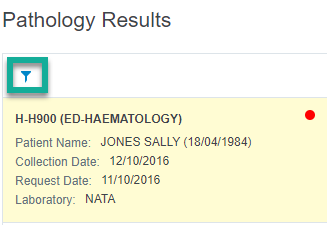
B) Use the fields provided to search for the result:
-Use the Patient Name field to search using either the first or last name of the patient.
-Use the Patient Date of Birth field to search using the date of birth found within the result.
-Use the Result Name field to search using the name of the test/scan requested.
-Use the Laboratory Name field to search using the laboratory the result was requested from.
-Use the Collection Date field to search by the date the patient had the test/scan completed.
-Use the Request Date field to search using the date that the test/scan was requested in the patient's clinical record.
C) Click Apply.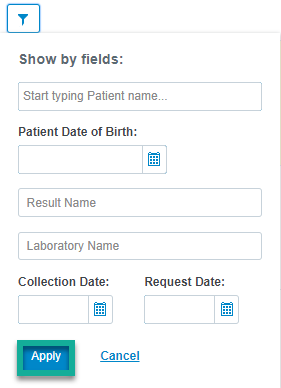
D) Results that meet the requirements of your filter will then be displayed in the left-hand panel for you to select.
3. With the result highlighted, click the Link button. 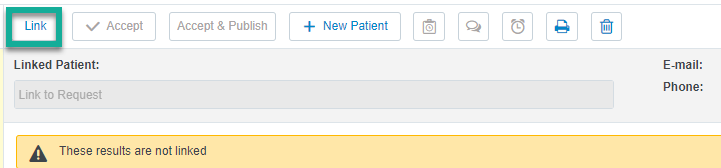
4. Clinic to Cloud will attempt to use the name and date of birth of the patient in the result file to search for a matching record in your practice.
5. If Clinic to Cloud was able to match the patient record, then the patient's details will be displayed.
A) You can use the Show All Patients button to show the entire patient list.
B) Use the Search box to search for the patient by name.
C) Use the Link button to match the record to the patient. 
D) You can use the Patient Demographics button beside a patient in the linking window to review the patient's demographic information. 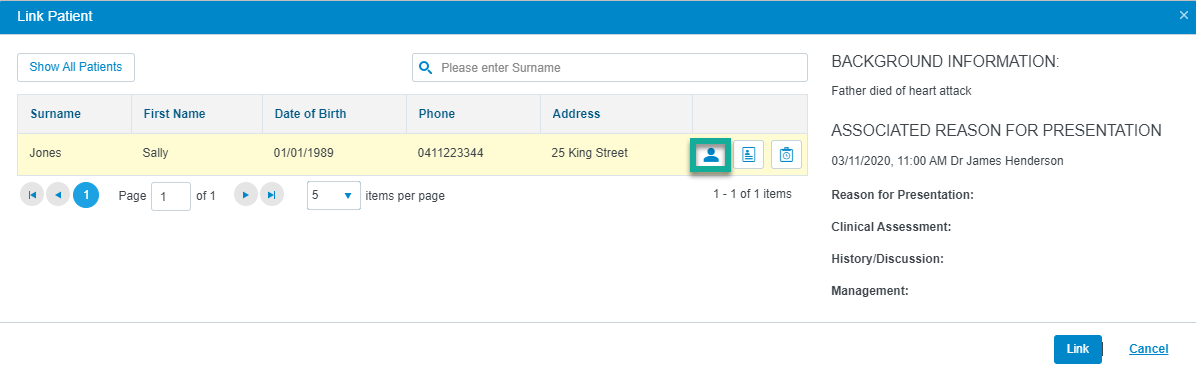
E) You can use the Clinical File button to review the patient's clinical information. 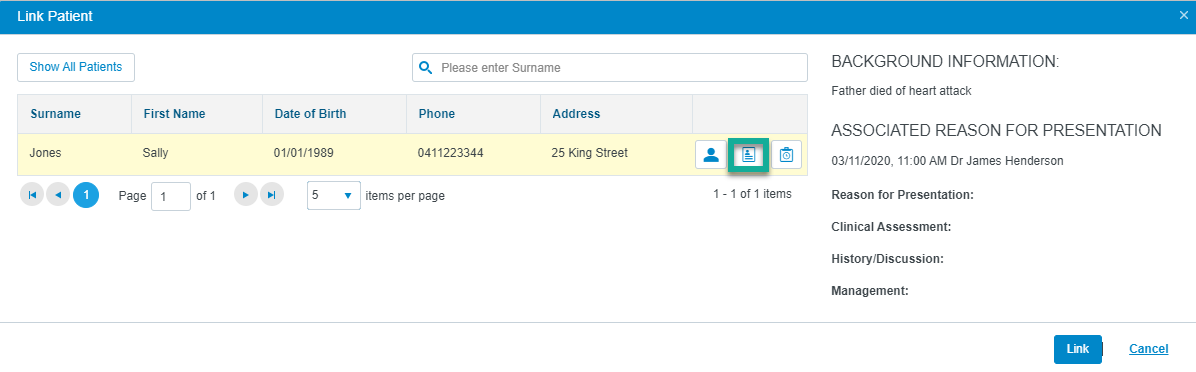
F) You can use the Quick Consult button record some clinical notes about the patient without needing an appointment to be booked for the patient.
6. If the patient does not yet exist in your database and you would like to create a record for them, click Cancel on the linking window, and click New Patient on the Pathology Results page. 
A) The patient's details will be prefilled from the result where possible. Complete the information and click Save when complete. 
7. The patient's details will then be displayed at the top of the window, including their E-Mail, Phone number, and Next Appointment details (if they have a future appointment booked). 
A) If the incorrect patient has been linked by mistake, you may click the Link button again, or use the Cancel button to remove the linked patient. 
8. If the result that was received is in relation to a request generated within Clinic to Cloud, then you can select the related request from the Link to Request drop-down menu.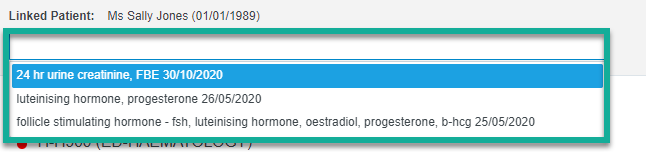
9. You may then choose to perform any of the following actions before finalising the result if you wish:
A) Open a Quick Consult for the patient to record some clinical notes regarding the result.
B) Click the SMS button to send a manual SMS to the patient. You may choose to use an SMS Favourite within the SMS window if you would like, otherwise enter your message and then click Send. You can find more information on sending manual SMS available here. 

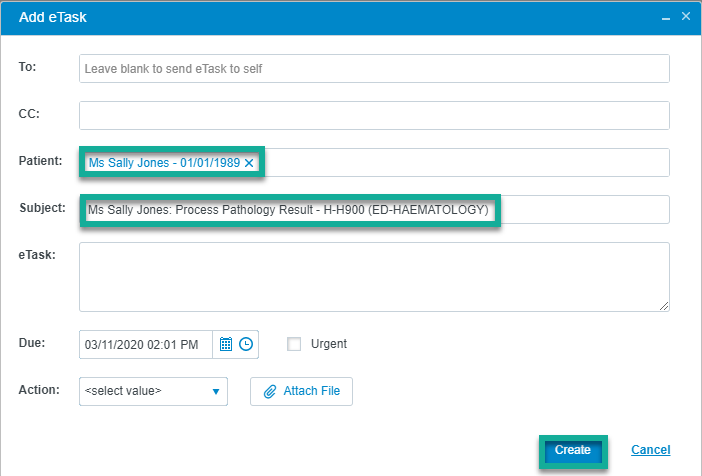
C) Click the eTask button to send an eTask to yourself or another staff member in the practice. The patient's details and subject of the eTask will be prefilled by information found within the result. Fill in the information as required, and then click on Create when finished. More information on using eTasks can be found within this video. 
D) Click the Print button to print a paper copy of the result. You will then need to click Print in your web browser to complete the print job. 

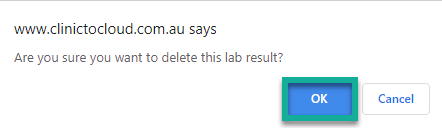
E) Click the Delete icon to delete the result permanently. If deleted, the result will not be linked to the patient file, and it will be removed from your unlinked results. You will be asked to confirm the deletion of the result before it will be removed. 
10. Click either Accept or Accept & Publish.
A) If you are not using the Patient Portal, or if your Patient Portal settings are set to publish after a certain time-period, click Accept.
B) If you are using the Patient Portal and have your lab results set to manual publish, click Accept & Publish if you would like to share the result with the patient. If you do not want to share the result with the patient on the portal, click Accept.
Note: If you have your Patient Portal configured to manually publish lab results and have chosen to click Accept, you will be unable to publish the result to the portal at a later stage.
If you are unsure how your Patient Portal has been configured, please read this article.
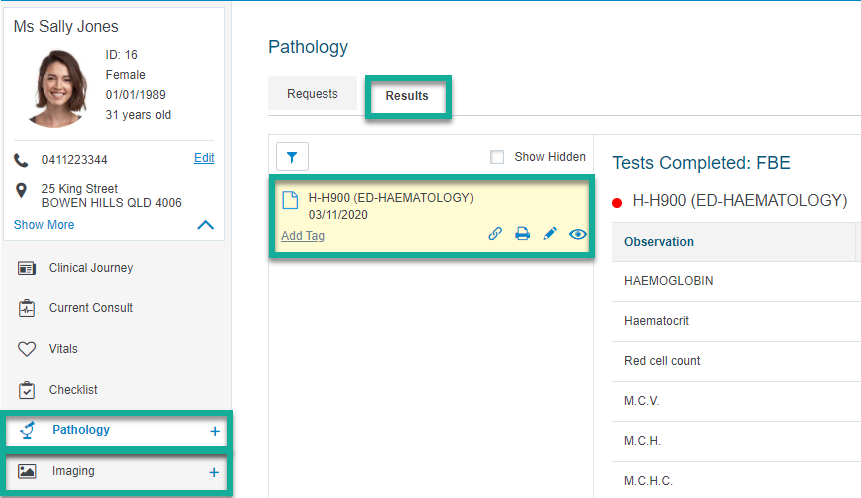
11. The result will then be linked in the patient's clinical file, and can be found in the Imaging/Pathology tab under Results.