Brief Overview
For patients to show correctly on the Operating List, they must first be booked into an appointment and have a fee estimate linked to that appointment. Once this has been completed, please follow the below instructions to print Operating Lists.
The Short Version
- Create an appointment and link the fee estimate. Learn more by clicking here.
- Go to Procedure Management > Operating List and select Add New Operating List.
- Add the details of the Operating List.
- Save and Print or Save and Email.
- See an audit of when the list was created and by who.
- Filter your Operating Lists to search for certain lists.
Instructions
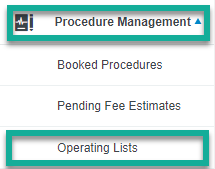
1. Go to the Procedure Management tab on the left-hand side of the Scheduler and then select Operating Lists.
Notes:
A) You can learn more about turning Operating Lists on and off here.
B) Depending on your preferences, Operating Lists may show as their own item on the side-bar, not under the Procedure Management heading.
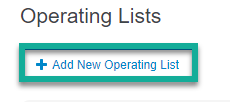
2. Select Add New Operating List
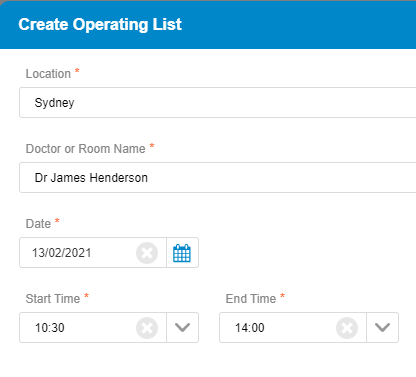
3. Select the Location, Doctor/Room, Date, and Start-End Time.
Note: Selecting the correct Start Time and End Time will provide you with the ability to create multiple Operating Lists for one day. This allows you to split one Operating List into unique sessions, and create more than one list within a given day. Operating Lists will be grouped together once created if they share the same date, provider, and location.
4. Select Create and this will bring up all patients for the specified location, doctor/room, and date. 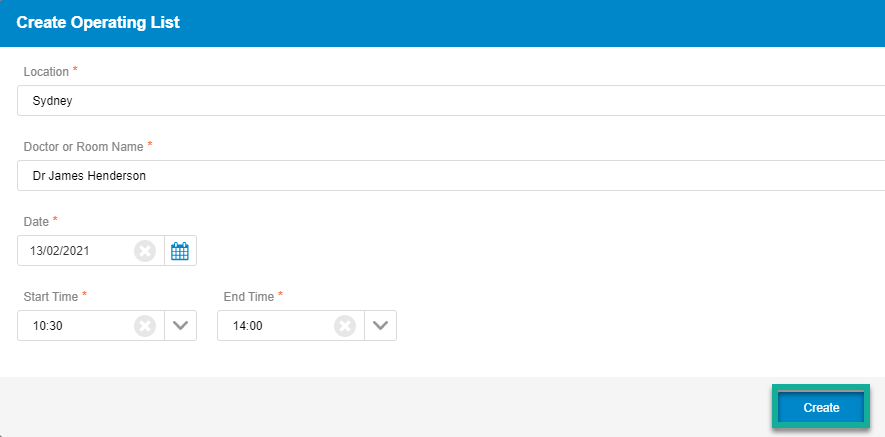
5. You can then:
a. Save - this will save the Operating List.
b. Save & Print - this will create a printable version of the Operating List.
c. Save & Email - this will send the Operating List directly to the email address listed under that location. To edit the email address for a location, open Settings > Locations and click the Pencil icon beside a location.
Note: Ensure you have updated the No-Reply Email Subject Line within Settings > Notifications, as this will be displayed on the Operating List email.
6. To update an existing Operating List follow steps 1 - 5, and this will create an updated version of the list. An audit trail will show when the list was created and by who, and you will be able to see past versions of the same list. You can then either Print or Email the new list as required.

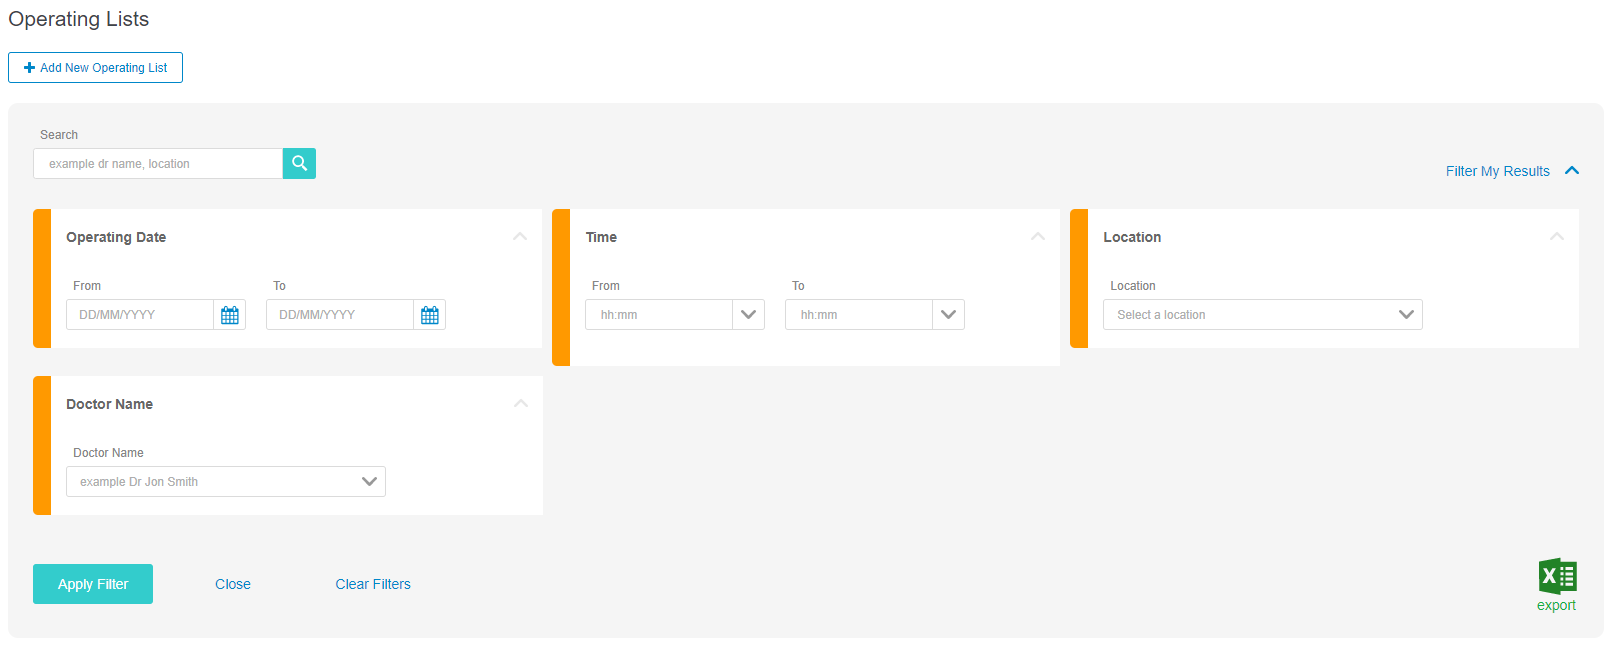
7. You can filter existing Operating Lists by selecting Filter My Results. From here you will be able to filter the lists created by provider, location, and operating date and time. This will allow you to search for Operating Lists efficiently. You will also be able to export the filtered lists to excel as required.
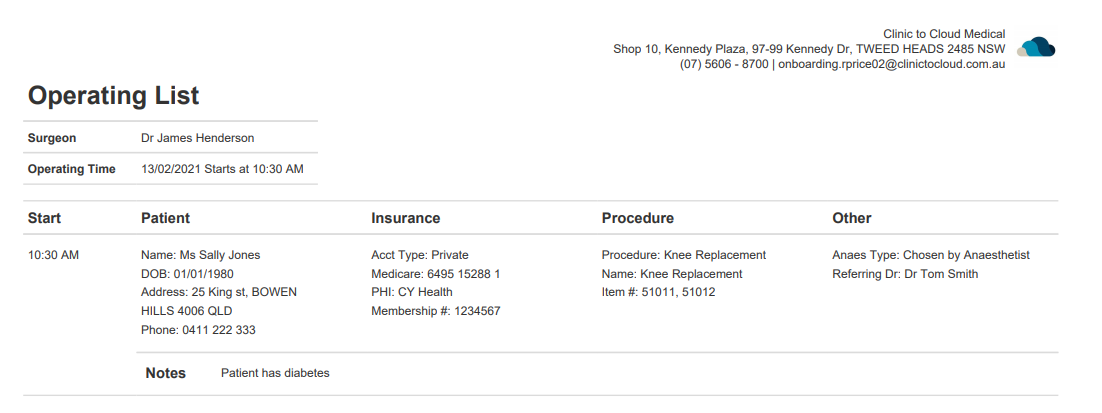
Below you will find a preview of what the Operating List will look like when printed:
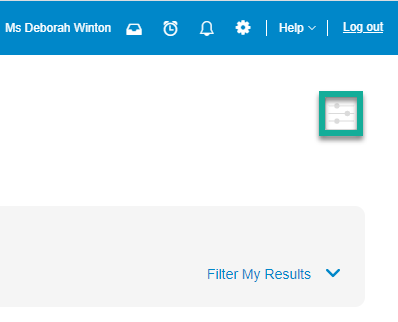
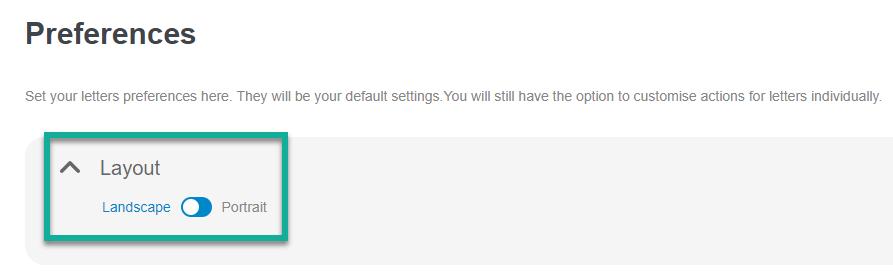
Note: If you would like to adjust the orientation in which your Operating Lists will print, you can click on the Preferences button within the Operating Lists window, and change the radio button to your desired orientation:
8. Operating Lists that share the same date, provider, and location will be grouped together, under a collapsible/expandable heading. Clicking on the heading will expand the day, so you may view multiple lists.

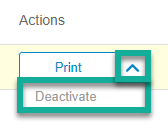
9. Once complete, you may wish to deactivate an Operating List. Deactivating a list will move it to the Deactivated tab, and remove it from view. To deactivate a list, select Deactivate from the Actions menu.
A deactivated list can still be printed, by entering the Deactivated tab, and using the Print button in the Actions menu.