Brief Overview
There are several ways to view a patient's Invoice History from within Clinic to Cloud, and there are multiple actions that can be performed from within the Invoice History window.
Viewing the Invoice History:
Completing Actions in the Invoice History:
- Print an Individual Invoice
- Open an Invoice
- Add Payments to an Invoice
- Filter Invoices
- Select Multiple Invoices for Bulk Actions
- Bulk Pay Multiple Invoices
- Bulk Print Invoices
- Print Summary of Invoices
Viewing the Invoice History:
From the Appointment Scheduler
- To search for a patient's invoice, click the Invoice History icon at the top left of the Scheduler.

- If the patient has an appointment on the Scheduler you can click their appointment once to highlight it, (it will show a blue line around the appointment if it is highlighted), and then click the Invoice History icon.

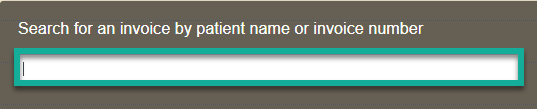
- If the patient doesn't have an appointment, click the Invoice History icon to open a window where you may search for the patient or the invoice number, without having an appointment highlighted.
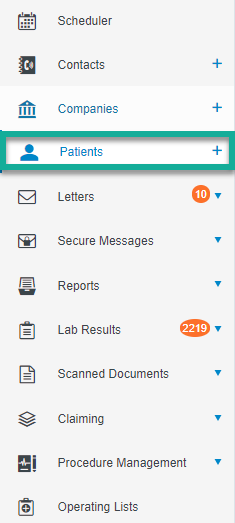
- Click Patients on the sidebar.
- Search for the patient.

- Click the down arrow next to the patient name and choose Invoice History.
From the Patient's Demographic Window
- Click Patients on the sidebar.
- Search for the patient.
- Click the View button next to the patient's name.
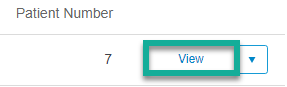
- Click the Invoice History tab on the top of the Demographics window.

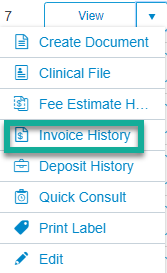
All of these options will open a new tab with the patient's Invoice History, where you may click the invoice number or select the Open option from the Actions menu to open the invoice for more information:
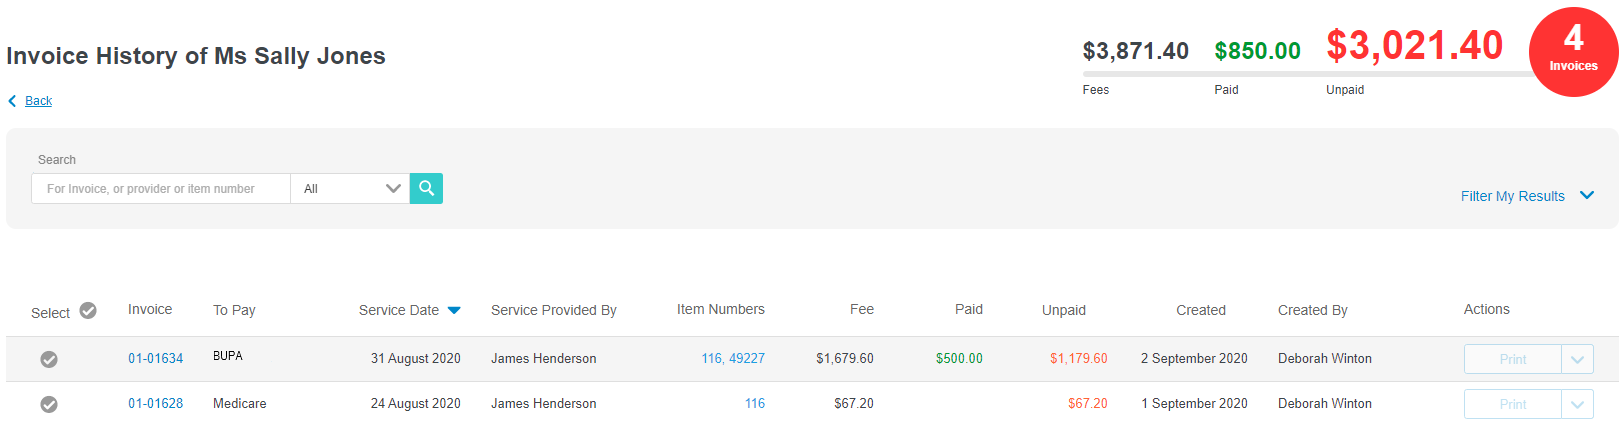
This window can be sorted by:
- To Pay (Account Holder)
- Service Date
- Service Provided By
- Unpaid
- Created
- Created By
The field currently selected to sort is indicated by the blue down arrow. ![]()
Completing Actions in the Invoice History:
The Actions column contains items that allow you to perform certain tasks for an invoice, such as printing, opening, and adding a payment to an invoice.
From the Actions column, click the down-facing arrow to select Print, Open, or Add Payment.
You can use the instructions below to complete these tasks:
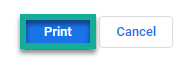
- From the Actions column, click the down-facing arrow to select Print.

- Your invoice will be opened.
- Select Print within the new browser window to finalise the print process.
Note: the Print button within the print dialog window may look different based on the web browser you are using. The screenshot above was taken in Clinic to Cloud's recommended browser Google Chrome.
- You can click on the Invoice Number in the Invoice column to open an Invoice, or select the Open option from within the Actions column.

- The Invoice will then open in a new browser tab.
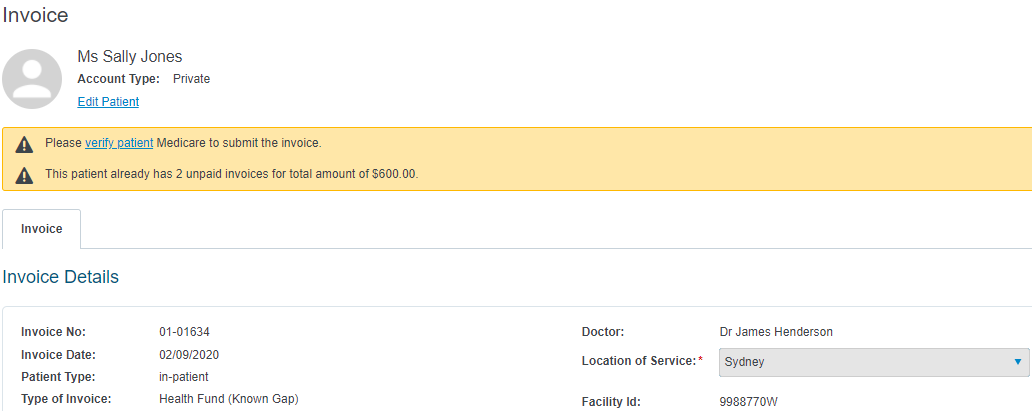
Payments may only be added for Private, Workcover, manual Known/No Gap, manual Bulkbill and manual DVA invoices that have an Unpaid invoice amount.
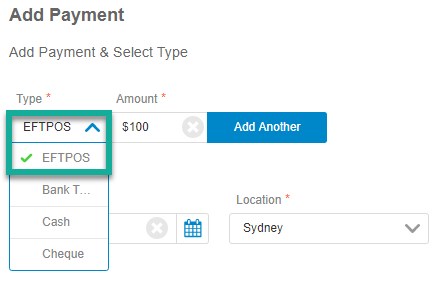
- From the Actions column, click the down-facing arrow to select Add Payment.

Note: If you cannot see the Add Payment option, check you have highlighted an invoice that is unpaid, and of the correct Invoice Type to accept a payment. - Select the Payment Type (this will default to EFTPOS).
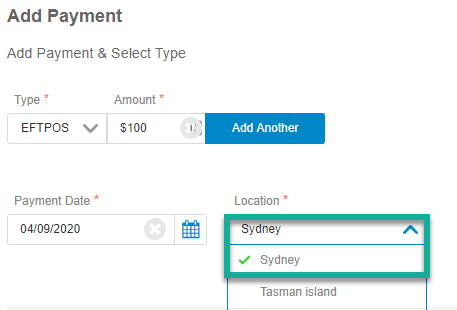
- Enter the payment Amount if required this (this will default to the full outstanding figure for the invoice).

- Change the Payment Date using the Calendar icon in the relevant field if required (this will default to the current date).

- Select the Location for the payment.
- If there were multiple payments made, click Add Another and repeat this process, otherwise skip to step 8.
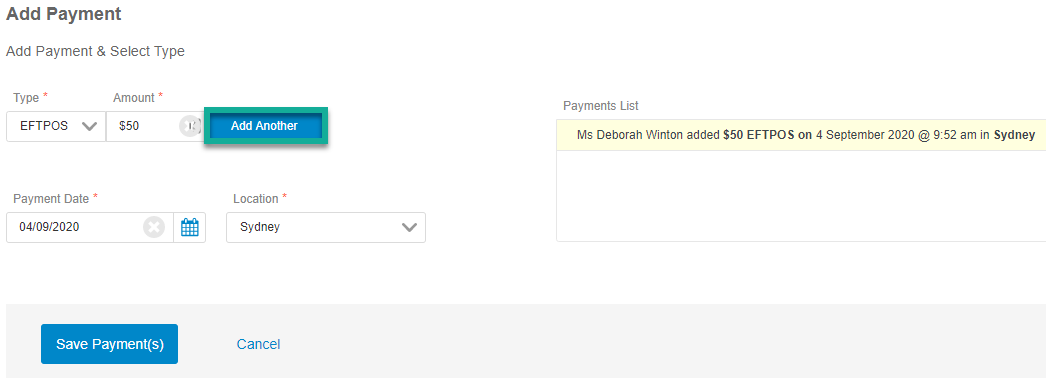
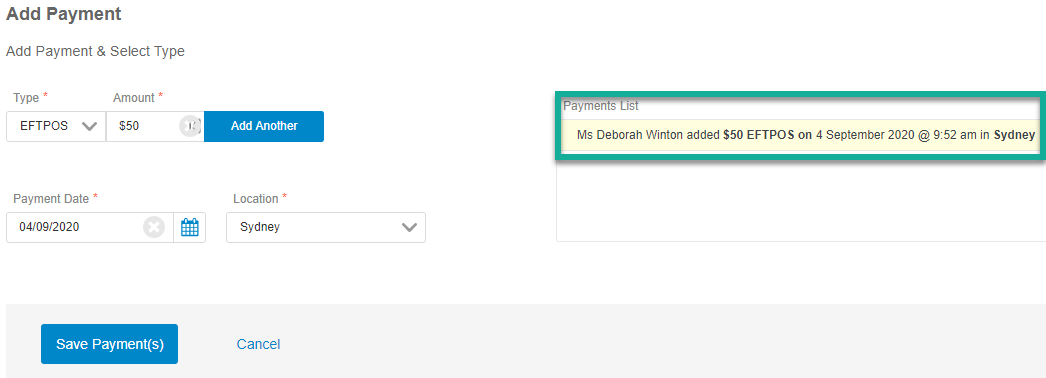
- Payments will be shown in the Payments List.
- When you have finished adding payments, click Save Payment(s).
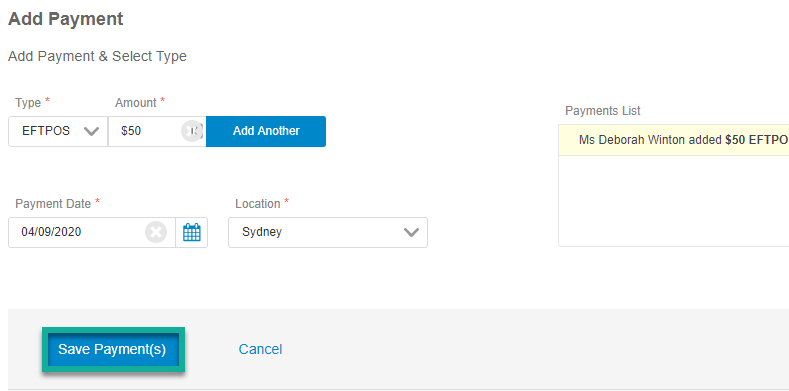
- The payments will then be applied to the invoice and you will receive a confirmation message.

Notes:
- You can add a partial payment to an invoice if the patient has not paid in full, and the remainder of the unpaid amount will be left outstanding.
- If you are adding multiple payments taken on separate dates or at separate Locations on a single invoice, you will need to add the first payment, click Add Another then change the Payment Date or Location for the second payment.
- Claims will not be automatically transmitted if payments are added through the Invoice History window. If you need to submit a health fund, DVA or Medicare claim, you must first open the invoice and then use the Submit button after making the payment to send the claim electronically.
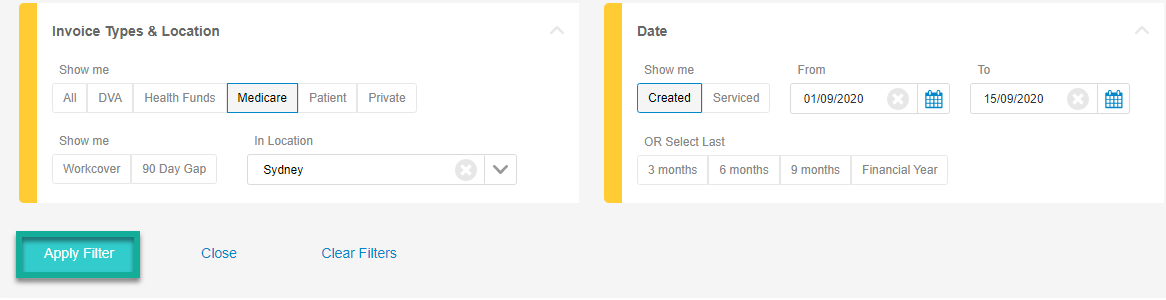
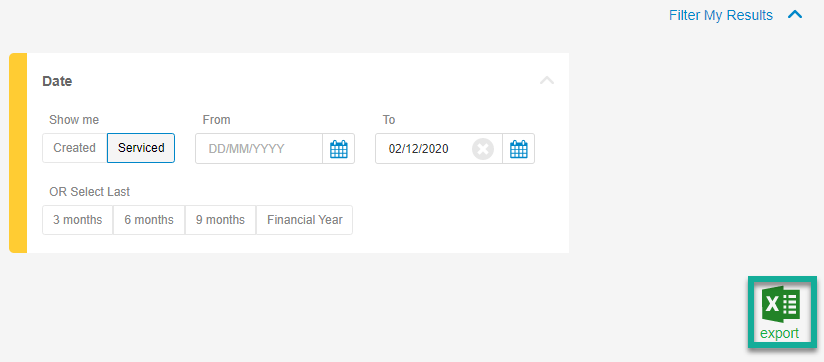
Filters can be used to organise the data on screen by location and invoice type, so you may quickly find invoices by category if required.
To use filters please use the steps below:
- Click on the Filter My Results drop-down to expand the filter area.

- Select the filters you would like to apply:
- Use the Invoice Type options to filter for invoices with a particular Account Holder (Medicare, DVA etc)

Notes: The Patient filter will display all invoices where the patient is the Account Holder for the invoice. The Private filter will show all private invoices regardless of the Account Holder (including those addressed to the patient). - Use the In Location drop-down menu to filter for invoices billed from a certain Location.
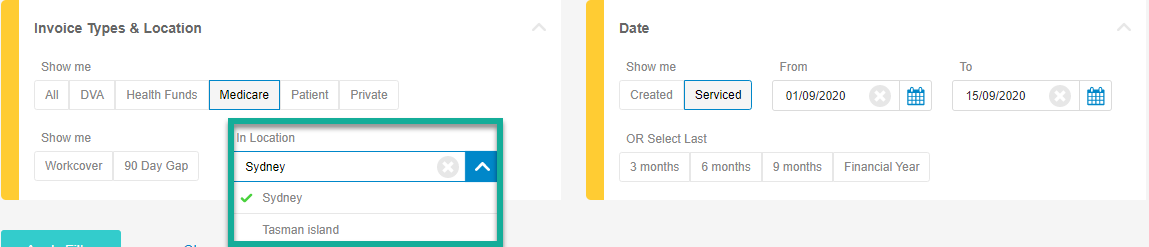
- Use the Created filter in combination with a date-range to find invoices created within a certain time period.

- Use the Serviced filter in combination with a date-range to find invoices with items within a certain service date-range.

- Use the Invoice Type options to filter for invoices with a particular Account Holder (Medicare, DVA etc)
- Click on Apply Filter.
- You will receive a list of invoices that match your filter criteria.
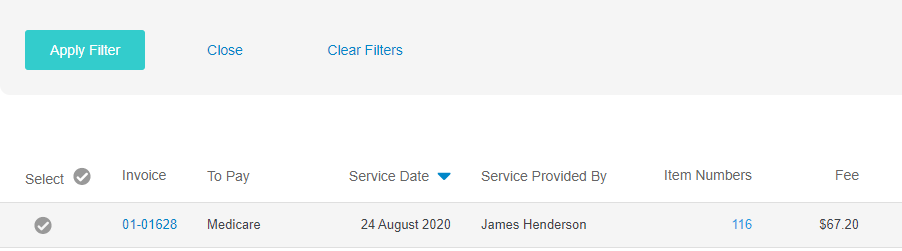
- You can use the Export button to export the invoices in view to Excel.
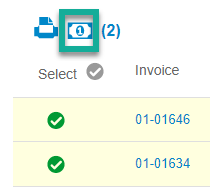
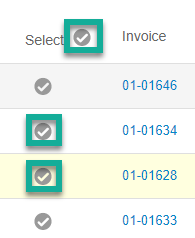
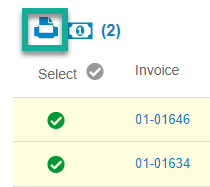
Select Multiple Invoices for Bulk Actions
The multi-select function allows you to select multiple invoices so that you may perform certain bulk actions such as applying payments or printing multiple invoices at once. To use this feature, follow the instructions below:
- To select all invoices on the page, use the tick icon beside the Select column header to tick all invoices, then skip to step 3.
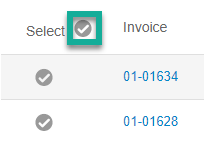
Note: This box will tick all invoices on the page. If you want to tick all invoices in a patient's account history, you should change the Items Per Page drop-down menu at the bottom of the window to expand the selection to encapsulate more invoices before using the select all option.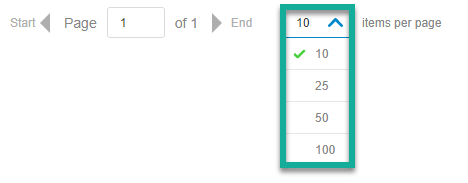
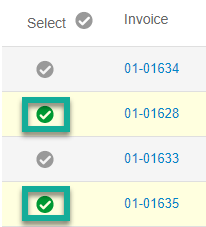
- To select certain invoices, tick the box beside the relevant invoices.
- You can then perform bulk actions such as applying bulk payments, using the instructions below.
Payments can now be applied to multiple invoices at a time, by using the selection tool noted above to select multiple invoices.
- Tick the selection boxes beside the invoices you would like to apply payments to, or use the Select All button to highlight all invoices in view.

- Click on the Bulk Pay icon to open the payment window.
- Enter in the Payment Type, Amount, Payment Date, and Location.
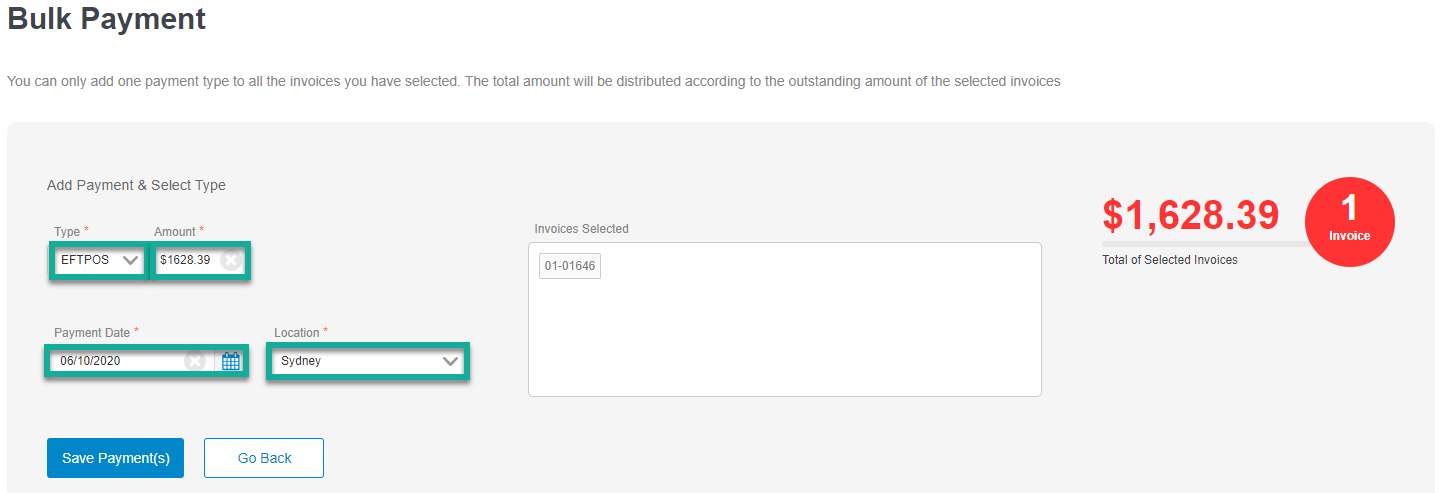
- Click on Save Payments to apply the payments to the invoice.
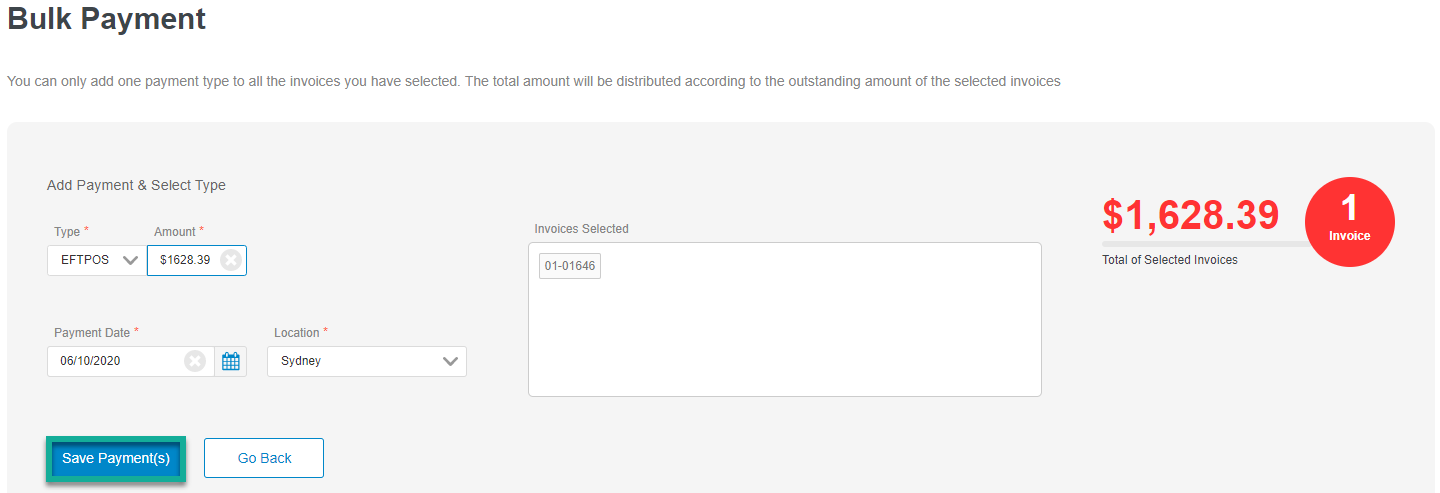
- You will receive a confirmation message to tell you the payments were successfully applied.

Note: Claims will not be automatically transmitted if payments are added through the Invoice History window. If you need to submit a health fund, DVA or Medicare claim, you must first open the invoice and then use the Submit button after making the payment to send the claim electronically.
You can print multiple invoices at a time by using the selection tool above, in combination with the Bulk Print icon.
- Tick the selection boxes beside the invoices you would like to apply payments to, or use the Select All button to highlight all invoices in view.
- Click on the Bulk Print icon to print the invoices.
- You will receive a browser window where you need to click Print to print the invoices.
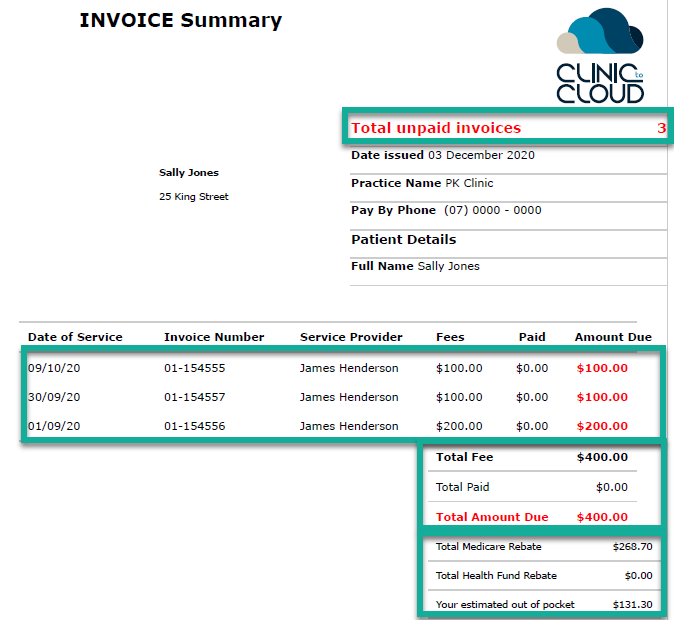
You can print a summary of invoices for a patient that are either paid, or unpaid. This can be particularly helpful if you need to print a summary of unpaid invoices for a patient on a single sheet, so that they may be provided with the total outstanding balance per invoice. You may choose to apply a filter first, to only print invoices of a particular type (for example, using the WorkCover filter, so you may print a summary of all invoices addressed to WorkCover).
Simply select the invoices you would like to print (or use the filters), and use the Arrow ^ icon to print a summary with or without any rebates showing.
1. Tick the invoices that you would like to print using the muti-select functionality mentioned above.
2. Click the Arrow ^ icon.

3. Select whether you'd like to print a summary with or without rebates.
A) A summary with any expected rebates from Medicare, DVA or the patient's health fund will be printed.
B) A summary showing only the outstanding costs without any applicable rebate figures will be printed.
4. A summary will then be printed with the following information:
- Appropriate Account Holder information based on invoice type.
- The number of invoices included in the summary.
- The invoice numbers with their date of service, provider, and outstanding fee information.
- A total cost of all combined outstanding totals.
- If "With Rebates" was selected when printing a summary, the rebates will be displayed.