Brief Outline
Imaging requests can be created during a Standard Consult or a Quick Consult, and are printed onto pre-printed imaging request paper. Before beginning the instructions in this guide, you should load your printer with the template you wish to use, and set your favourite and default lab request forms.
Note: If you wish to print an imaging form to plain paper, you can request a custom form to be created for your practice at an additional cost.
Short Version
- Open a consult for a patient.
- Click the Plus + icon on the Imaging tab.
- Select the laboratory from the Request To drop-down menu.
- Tick the Urgent or Bulk Bill boxes if relevant.
- Select the scans from the Scans Required menu or create a new test.
- Select the Scan Of body area if required.
- Record any Clinical Notes.
- CC any required contacts and companies using the CC field.
- Make any relevant selections from the Critical radio buttons.
- Provide a reason in the Reasons field if required.
- Click Create and Print.
Instructions
Imaging requests can be created during a Standard Consult or a Quick Consult.
- If writing a request for a Standard Consult, double click on the patient appointment.

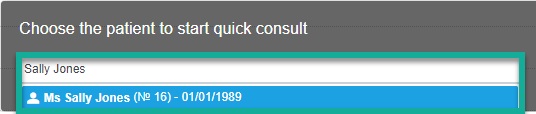
- If writing a request for a Quick Consult, click the Quick Consult button and then search for and select the patient.

- Click the Plus + icon beside the Imaging tab on the left.

- Select the lab you'd like to use from the Request To field. If you have set a default lab form in your settings, then this will be pre-selected for you.

Note: If you do not see the laboratory you would like to request from, please follow the instructions within this guide to enable the form. - Tick the Urgent tick-box if required.

- Tick the Bulk Bill tick-box if required.

- Select the scans you require from the Scan Required drop-down menu, or click the Plus + icon beside the Scan Required field to add a new scan.

A) If you clicked the Plus + icon above, click on Add Item.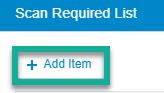
B) Record a name for your test and then click the Tick √ icon.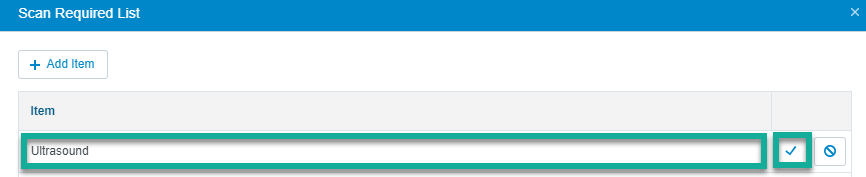
C) Click the Close or X buttons.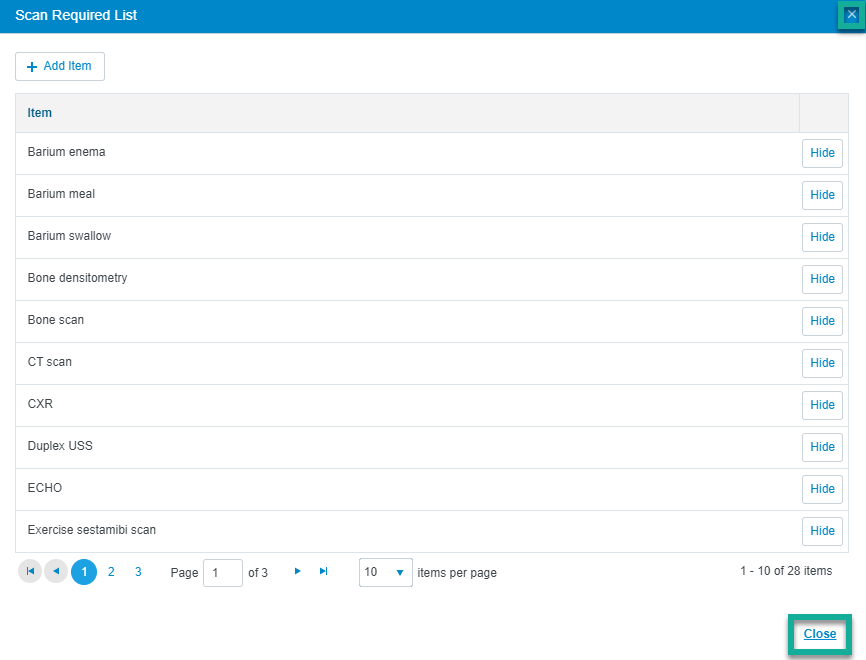
D) Search for and select your scan/s from the Scan Required drop-down menu.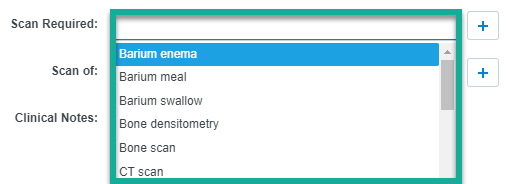
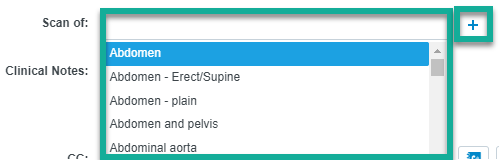
- Select the body part requiring a scan by choosing from the drop-down menu, or click on the Plus + icon beside the Scan Of field to add a new scan (if required). Not all requests will need to have a Scan Of included, as the scan itself may indicate the body part requiring a scan.
A) If you clicked on the Plus + icon beside the Scan Of field, click on Add Item.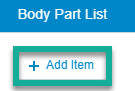
B) Type the body part into the field provided, and click the Tick √ icon.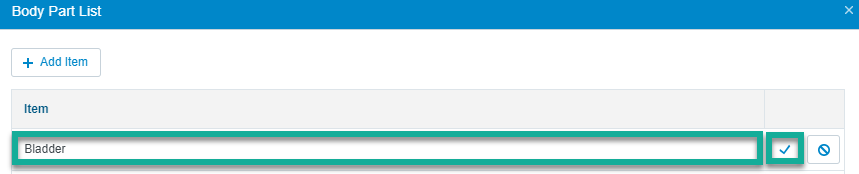
C) Click the X or Close buttons.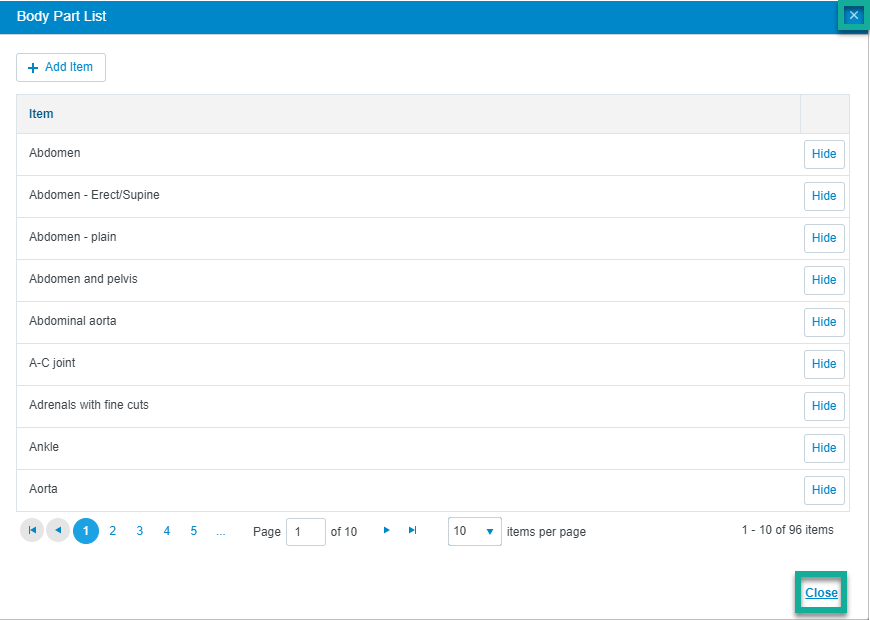
D) Select the body part from the Scan Of drop-down menu.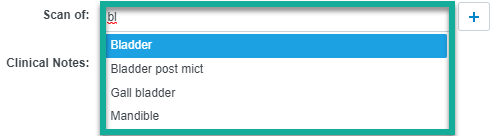
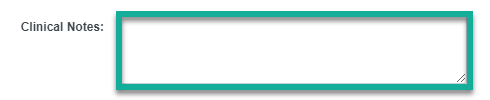
- Record your notes into the Clinical Notes field.
- If the patient has a referring doctor or any interested parties recorded, click the relevant buttons. Otherwise, you may type into the CC field to search for any contacts you would like to receive a copy of the results.
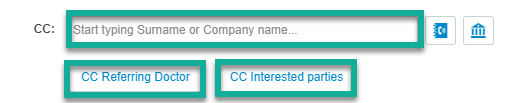
A) If the Contact or Company do not already exist, you can click on the Contact or Company buttons to add a new record.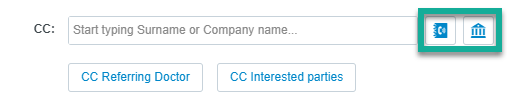
B) Follow the relevant link for more instructions on how to create a new Contact or new Company record. - Select from the Critical, Non-Critical, and None radio buttons.

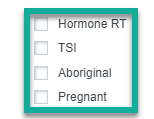
- Tick the Homone RT, Pregnant, TSI, or Aboriginal tick-boxes where required.
- Select a reason from the Reasons drop-down menu, or click the Plus + icon to add a new reason.

A) If you clicked the Plus + icon above, click on Add Item.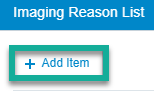
B) Type your reason into the field provided, and then click the Tick √ icon.
C) Click the Close or X buttons.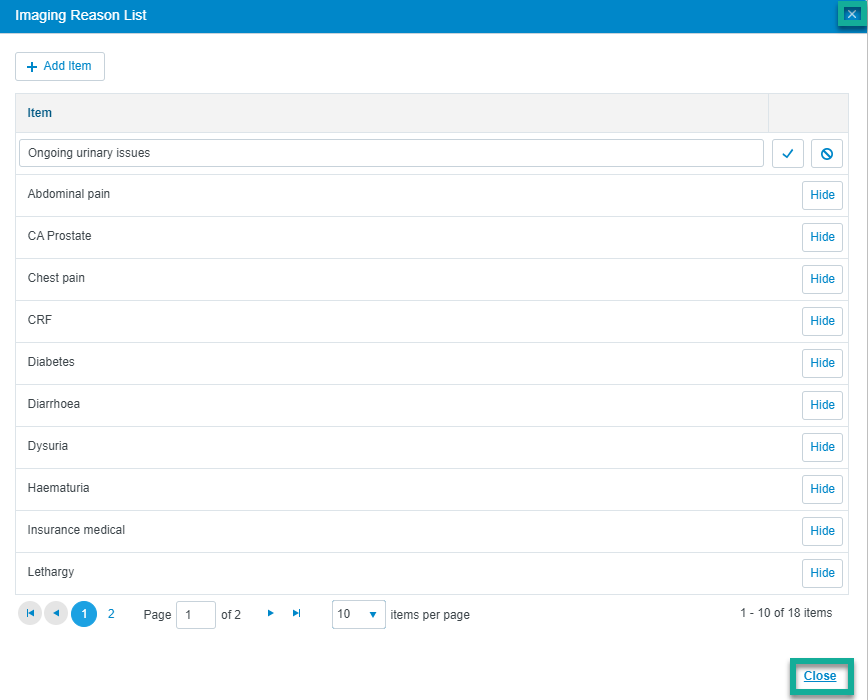
D) Search for and select your reason from the Reasons drop-down menu.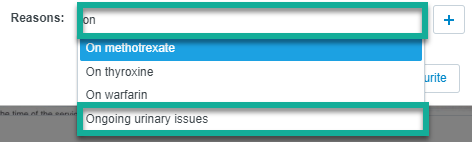
- If you are likely to require this scan/s again, you can click the Save as Favourite button to easily recall this information in future.

A) If you clicked on Save as Favourite, you will need to provide a name for your favourite by typing into the Name field. We would recommend providing a descriptive name so you know what is included in this template.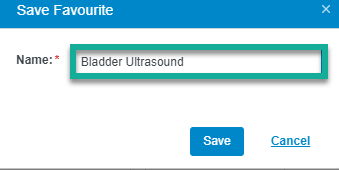
B) Click Save.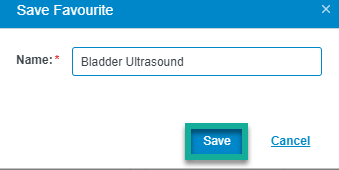
C) The next time you would like to use this favourite template in future, you can select this from the Favourites drop-down menu at the top of the window.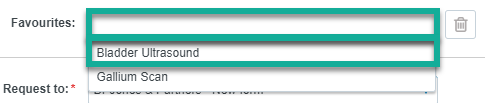
D) To permanently delete a favourite, select your favourite in the Favourites menu, and then click on the Trash Can icon.
- Click on Save or Save & Print.
A) Create will add the record to the patient, but will not print a request form.
B) Create & Print will save the request to the patient, and print the request form using the template you have selected from the Request To field.
- The request will then be saved in the patient's record, in the Pathology tab, under Requests.

- You can click on the Repeat button to quickly repeat a request if the patient requires the same tests another time.

- You can click on the Print button to reprint a request form for a patient.
